Napkin Ring
Before we start off we would like to give some advise.
- For this model you do not need to have two face coloured or patterned paper as one side will not be seen.
- Our napkin ring is made out of 6 pieces however if you have more pieces your ring can be stronger.
- For this tutorial to be better illustrated we used 15*15cm paper however smaller size paper (7,5*7,5cm) could make better ones.
- If you have thicker paper you will have a stronger napkin ring.
- Try to fold as accurate as you can since this will help you to put your pieces together more easily.
- Finally and crucially ; if you think your guests may laugh at your napkin ring and are not capable of understanding your art ; do not use it for them as this may break down your motivation!
Let’s go!
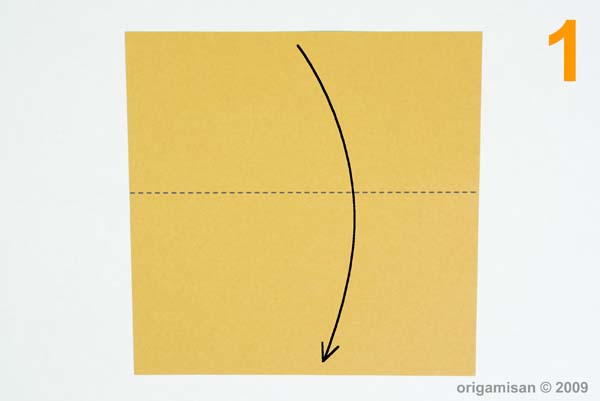
1. Fold your paper in half ,leaving the side that you do not want to be seen inside, then unfold back.
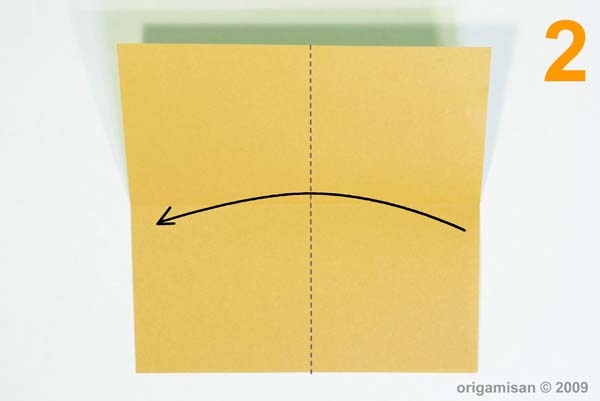
2. Fold your paper from the other side as well.
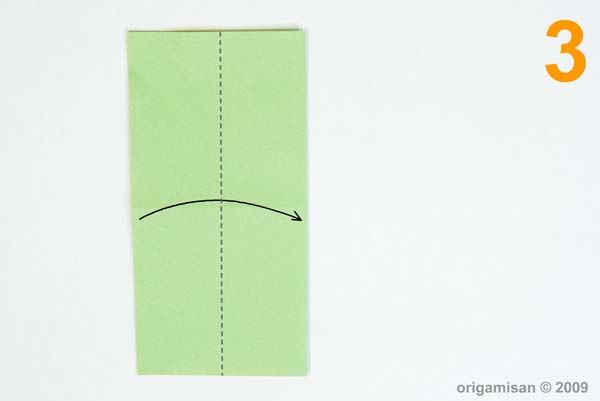
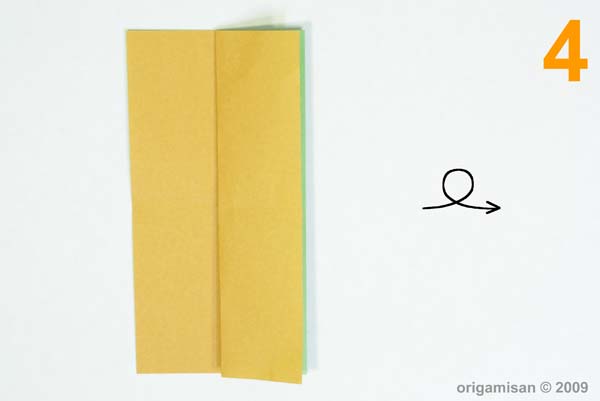
3-4. Fold your paper resulting as seen in picture 4 then unfold.
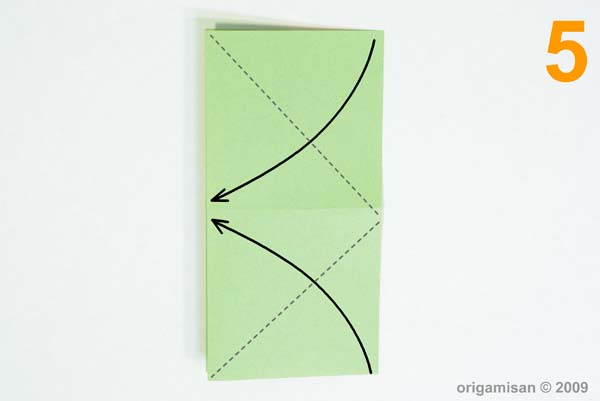
5. Fold the corners to the midpoint.
6. Fold the corners towards the arrow direction.
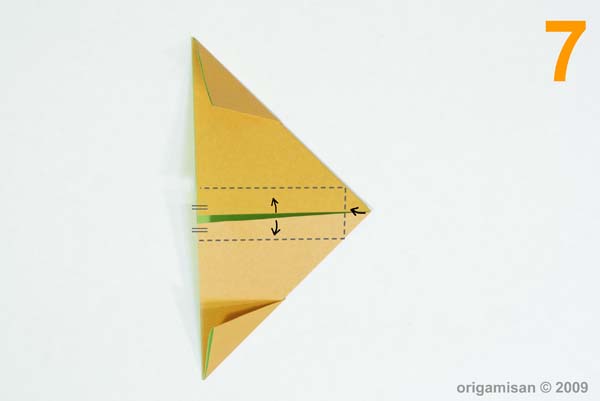
7. From the marked sides fold equally on both sides.
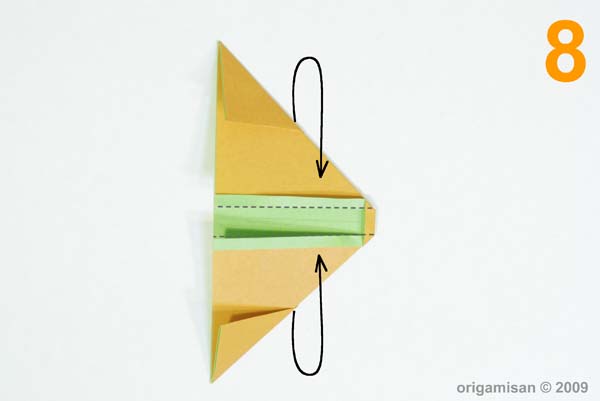
8-9. Fold from the marked point then stand your paper up. Make as many pieces as you need.
Time to put the pieces together.
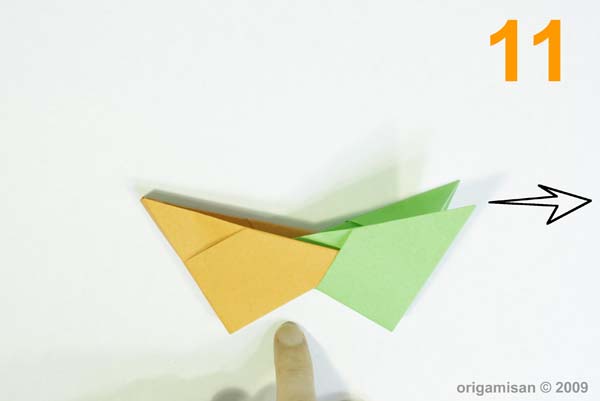
10-11. Put the corners inside the little pockets as seen in the picture 10. Turn over your piece and do the same on that side too.
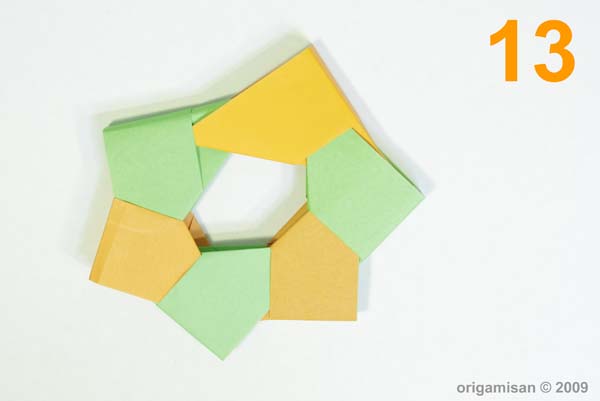
12-13. After doing this on all pieces put the last piece inside as seen picture 13.
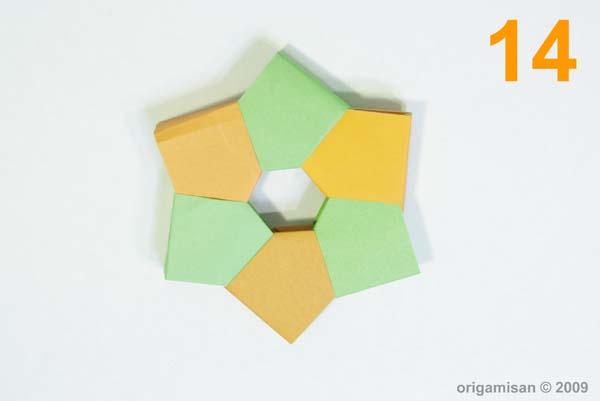
14 . Your napkin ring is ready. Well done!
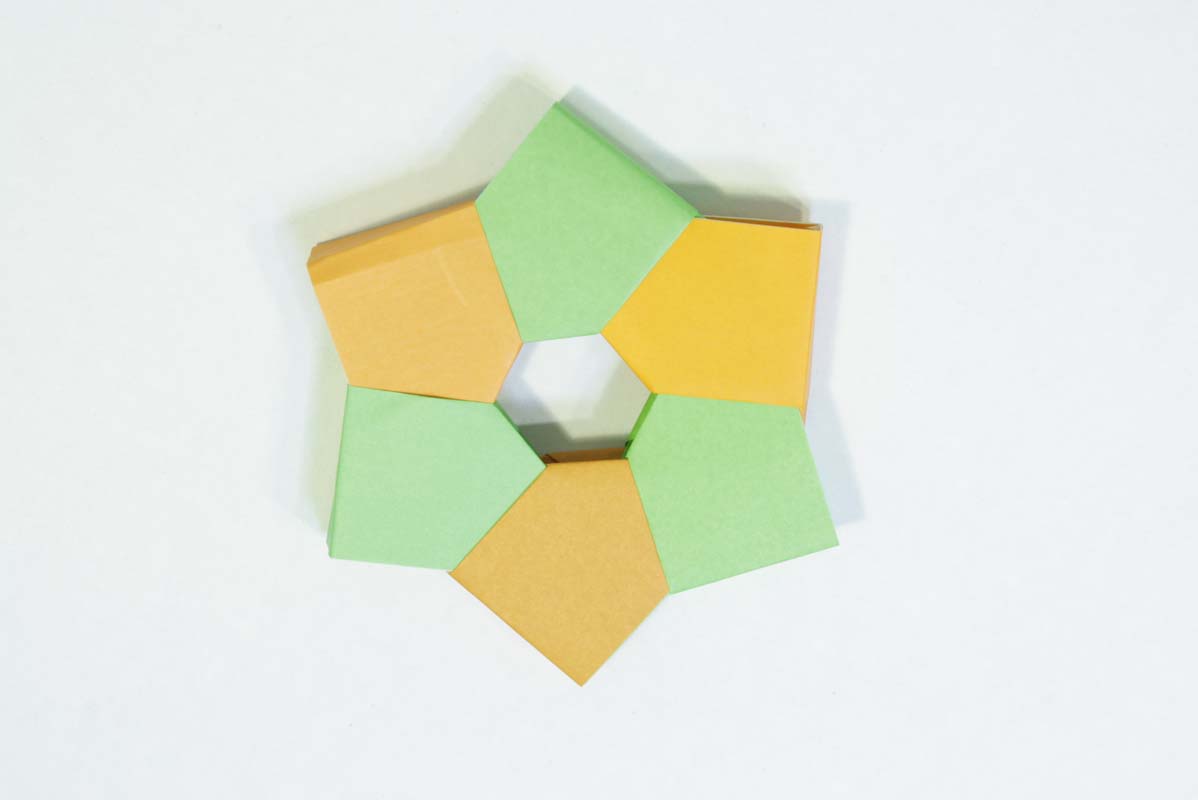
Gallery